
Let's finish this mother up! Well, almost.
Get out your scrap for a few practice stitches.

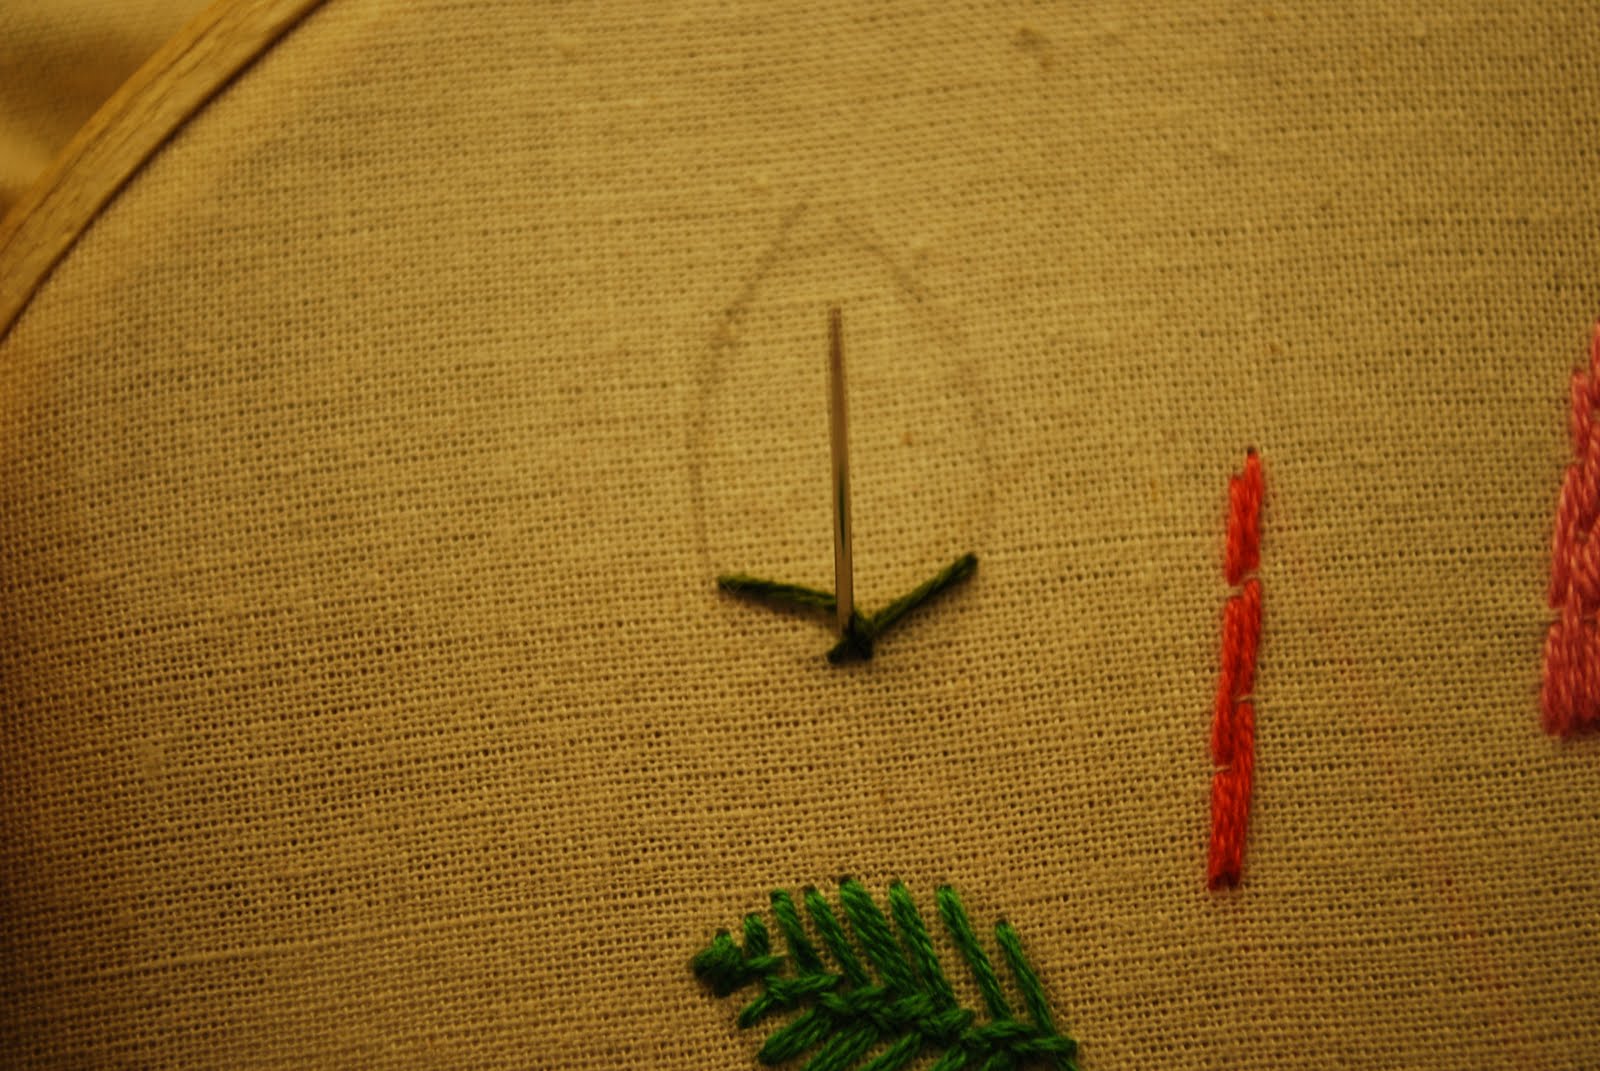
just in case you can't identify the stitch we are getting started
with due to my overcrowded scrapadoodle,
it is the dark green one in the middle with my needle right next to it.
Yes, for the next two stitches we are going back to
the two colors from our beloved beanie.. in my case,
those are dark green and light green.
Let's start with the 'Stem' stitch.
Start by making a nice stitch of decent length.

The next stitch will start in the middle - on the right(or left) side
of what you are doing. It depends on which direction
you are stitching in, and I will explain later.
For this stitch practice, though, lets bring our needle up
on the right side of the stitch.

Which side?

The right side. Definitely.

Here's where shiz gets crazy.
from the right side, reach under the previous stitch and
yank it over to where your needle came up.
*Notice that now your stitch in on the LEFT side.
yep.

From there, make another decent sized stitch.
Notice how they are kind of hugging together. Aww.

The next stitch will come up right above the first stitch on the
right side..

So, keep up the switcheroo and you will end up with
a nice twisty donut looking stitch. Yum.
The Stem stitch is king of a fun, more stylized version
of a basic split stitch. We use it when we want to be
'Fancy'.
And, if you are like me, you want to be fancy often, almost always.

Our next stitch is the 'Leaf' stitch. I know, these names are
very original. Perhaps the most creative names ever.
For this guy, we have to draw a practice leaf on our scrap.
Make sure your leaf is nice and round. I ran into the problem
of making some ugly leaf tracings on my Poppy and, well,
my leaves are just not as fantastic as they could be.
Oh well.
So, you have your leaf. Brava to me and this fab drawing.

Ok. Start on one side of the bottom.. left or right, whatever
suits you best. So many choices.
For me, I chose left, so this explanation will follow that.

The next stitch will go up and to the right.. slightly angled.

The next stitch will start on the other side.. making a little
inverse V with the stitch( and a big V, really ).
This stitch will follow the first, in the opposite direction.


Next, we are going to get crazy again. Crazy embroiderers.
Your stitch will come up in the middle and do our
favorite bob and weave with the left side thread.
Note how the thread starts in the middle..

then gets crazy with the swoosh and grab of the left thread.
This stitch will be sewn in above your first stitch on the
right side, with
a small space between the two.
Next, your needle will come up on the right side between the
two threads. Keep the needle very close to the middle. We want
the little backbone of our leaf skeleton here to be nice and tightly
braided.

The next stitch will go to the left. Notice how that stitch seems a
bit saggy and definitely not the strong straight stitch we need
for our leaf skeleton perfection. Don't despair. This is where the
'Bend and Snap' comes in. Ok, that doesn't really apply.
But, I love saying it.
This is where our little duck under stitch grab comes in again.


repeat.

Look at this gorgeous leaf.

Notice the tiny braid back bone.

Time to apply what we've learned.
The 'Stem' stitch is for well, the stem.
And, the leaf stitch? Uh huh.

The only snag that I can come up with here is
when you stitch the stem stitch on a curve, make sure
your needle is popping out at the top of the stitch and you
are digging under the stitch and pulling it upwards.
Gravity is already against you, so you want to
pull the stitch upwards.

Finished stem and leaves.
You can play with the colors any way you want.
I put a little doodle at the end of my middle stem and
I don't know why. I guess I was in the moment.
Notice the far right leaf.. there are some pencil
marks lefts over as I tried to correct that
beastly leaf drawing.
Luckily, Pencil marks will wash out.
We can discuss this later.


Let's bring it home tomorrow with the final stitch
and stop this insanity.. for now.


So, embroidery is a bitch. I am working on something.. a drawing I did on a tea towel. I think the stich of the towel is too loose so my embroidery was not holding using the short long stitch method. I think I made up my own fancy stitch. I'll post photos tomorrow so you can laugh your head off!
ReplyDeletei would never laugh at you! I am so thrilled that you are trying something new and being crafty!!
ReplyDeletehe he. yay. xoxo
ReplyDelete