Where were we?
Ok, so now you have these lonely petals.
Let's finish off the top of the flower,
aka the crown.
Here is what we have so far.

For the rest of the flower, you will need two more sets of
monochromatic colors. It was suggested in class that
I really enjoyed saying the word monochromatic. Well,
I do. And lucky for me, I will use it again and again.
So, like I said, you need two sets of monochromatic colors
that fade from dark to light. For the actual crown, you will need
two colors. I used green : light and dark olive, to be exact.
The area below the crown will require 3 monochromatic
colors. Yes, that is FOUR times I have said it.
In my case, I used purple, light, medium, and dark.
You are welcome to pick your own color combo..
this is your craft, afterall.

The first stitch we are using here is 'padded satin'.
You will recall we used the satin last time on the ends
of the petals. You create a satin stitch by stitching from
one side to the next, with the stitches falling right next to
each other.
We are going to take this stitch to the next level, though..
the 'Padded' level. It will be padded. And, puffy.
Start with your darker of the two colors you have selected.
Split the Skein into 3 and 3 again and thread your needle,
knotting the bottom.
We are starting at the top of our little flower beanie, here.
Start on whichever side you are most comfortable with and make
a stitch across the top of the beanie.

Follow that with another stitch across, directly below
the first.

And then, another below that.

And so on, and so forth..

Once you have completed this process, you will have satin
stitched the entire crown, horizontally.
Congrats, you satin stitched. You did it.

Here is where we go crazy. Here is where we get 'Padded'.
Booyah.
We are now going to satin stitch vertically starting at the
bottom middle of the crown.
Pick on side and satin stitch over your originally
horizontal stitch.. only one side,
as this beanie is going to be two colors, split down the middle.
Start with one vertical stitch..

The second stitch will follow, directly next to the first.

The next stitches will follow suit

until you have this half puffy satin masterpiece.


The other half of the puffy satin will be your other color.
That is, the other half of the monochromatic
color wheel of greens. I said it.
So, get your needle back to the middle and make
light green puffy satin(or whatever color you
choose, no pressure)!


Voila! Beautiful crown of two toned
'puffy satin'.

Remember to tie off and clip the ends of each
color you finish..

To finish off the top of the flower,
you need one more monochromatic gradient of color.
You will need three colors in this case and in my case,
I chose purple.
Behold the insanity that is my threads.
File this image into the 'what not to do' folder.

So, for the first part of our new color wheel of
stitching, you will need to split your yarn skein
into 4 and 2.
If I was less lazy, I would tell you that the first part(the split
stitch) would be better with a three yarn and the
second part(french knot) would be better with a four yarn.
However, I am lazy. So, I did everything here with a four yarn
your level of precision here is entirely up to you.
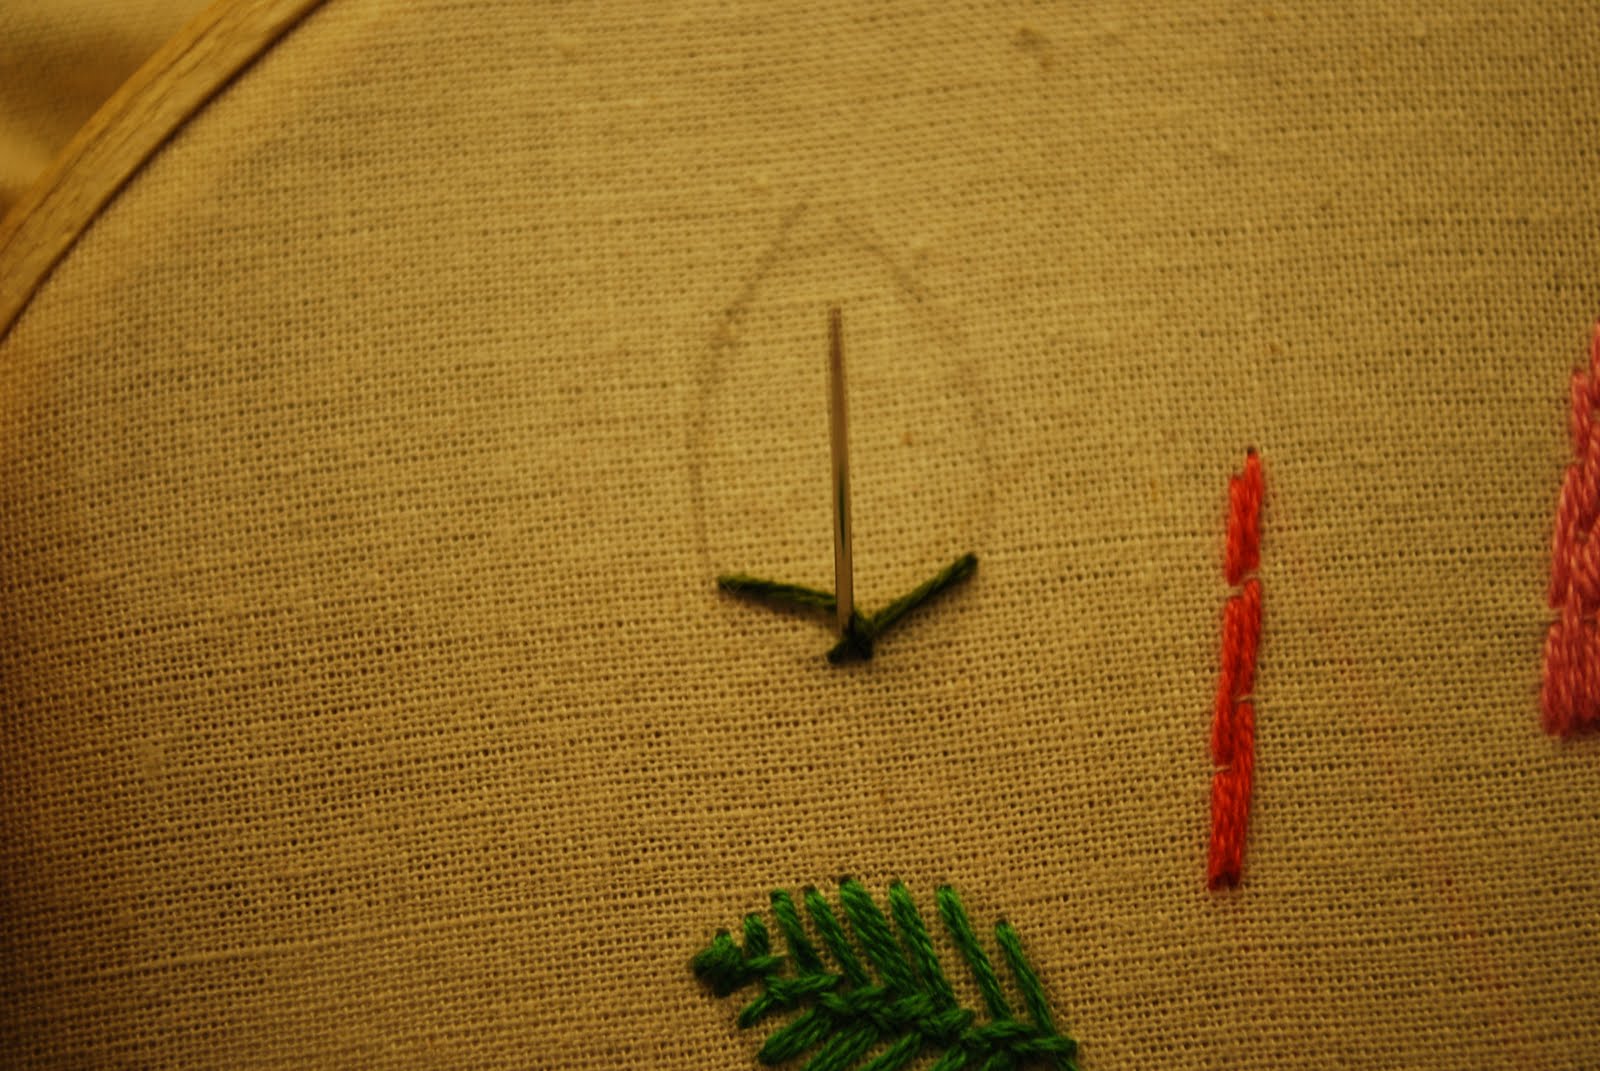
We are going to start by giving the beanie a little outline
using split stitch. If split stitch slips your mind,


So, We split stitch around

and up the middle..

When we are done with this.. we are going to poke our needle
out at the top middle of our beanie and go ahead and give our
beanie a little poof on top with a french knot.


Simply make a knot at the base of the thread ( I say simple
but somehow it was not simple during class. My best advice here
would be to hold the knot down with one finger like you were
tying a bow on a package, and pull slowly. See the next step
for a picture of me doing just that.)

Once you have your knot, pull the needle back through the fabric
right next to where your knot is.
In this case, you are trying to pull your knot as close to the
beanie as possible, so, insert your needle below the knot.

I give you beanie with poof.

And we still have that whole middle portion to fill.
If you like making knots, you just struck it so rich.

Start on whichever side makes you comfortable and knot
from one side to the other. We are still using our darkest color
with 4 threads here.

Here is a slo mo pic of me tying a knot and using my finger.
Please, for both our sakes, use that finger.
Perhaps you should practice a few knots on your
embroidery shag before committing yourself to serious
knot making. Knots are one of those tricky things;
either you have it or you don't.

You tricky knot!

Fast forward 10 minutes (if you've got 'it')
and you have your first row of knots..
made with the darkest color of your new color grouping.

Now onto the next lightest color and the next row of knots..

And the third row of knots in the lightest color..

Hot!

We are done with our flower.. only three more stitches to go!

And for you who are scared of the embroidery,
I give you some bday photos of me and the girls. Loves it.
Did I ever tell you that I got this? Well I did and it is amazing.
And, it is criminal to try to steal it's thunder with
a giant patent leather red belt. Bad!


And the new sexy heirloom treasure in my office;
lights up my Tony Gwynn pennant real nice.

See you tomorrow! Do your homework!